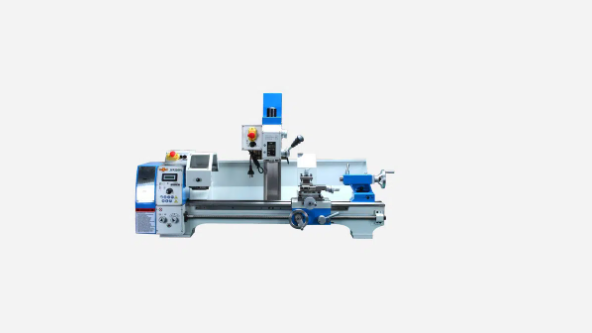
CNC machines are the most common manufacturing machinery equipment in the manufacturing industry, and the machining performance of CNC machine is widely used. In the use of CNC machine, its processing personnel need to master some detailed knowledge. The following is a detailed analysis the process of preparing a CNC machine.
CNC machines usually do not need special process equipment such as special fixtures. When replacing the workpiece, it is only necessary to call the program to install the tool and adjust the tool data of the CNC machine stored in the CNC device, which greatly shortens the production cycle. In addition, the CNC machine has the functions of milling, boring and drilling, which makes the processing highly centralized and greatly improves the production efficiency. The spindle speed and feed speed of CNC machines are continuously changing, which is helpful to select the appropriate cutting parameters.
CNC machine processing refers to a mechanical processing method that uses digital information to control the displacement of parts and tooling in the process of NC machine tool parts processing, to solve the problems of variable parts, small size, messy shape, advanced accuracy and an efficient and effective way to achieve automatic processing.

Steps To Take Before Creating A CNC Program
When starting or stopping a CNC machine (no matter horizontal or vertical), the reference of the CNC machine must be zero first, so that the CNC machine operated later is at the reference position.
1. CNC machine clamping workpiece
Before clamping the workpiece, the operator of the CNC machine tool needs to clean every surface that cannot be stained with iron filings, dust and oil stains. The operator also needs to use a file or oilstone to remove burrs on the surface of the workpiece. The iron block used for clamping must be polished with a grinder to make all surfaces smooth and smooth. The iron pad is generally placed at the four corners of the workpiece. For parts with excessive span, the contour iron pad must be placed in the middle. The length, width and height of the workpiece shall be checked with a ruler according to the drawing size.
When the workpiece is clamped by the CNC machine, the clamping shall be carried out according to the programming instructions, and the opening is required to avoid the cutter head contacting the fixture. When the workpiece is placed on the iron pad, the CNC machine operator shall test whether its perpendicularity conforms to the workpiece that has been ground according to the requirements of the drawing of the workpiece reference puller. After the work-piece pulling table is completed, the nut must be tightened to prevent the work-piece from misplacement during displacement processing due to unstable clamping. The operator needs to pull the worktable of the CNC machine again to ensure that the clamping error does not exceed the specified value.
2. Number of collisions of CNC machines
For parts clamped by CNC machine, the reference zero position of the touch number can be set with the impactor, and the impactor can be photoelectric or mechanical. There are two methods: number of intermediate collisions and number of unilateral collisions.
3. Tool preparation for CNC machine
The programmer selects the parts to be machined, generates the tool path through the CAM software UG programming, carries out interference check through the UG simulation module, and processes after the interference check to generate a safe and stable CNC code. Then they transfer it to the workshop and then to the CNC machine.
Prepare all tools according to the programming instructions, replace the machining tools, and let the tools contact the height gauge placed on the datum plane. When the red light of the height gauge is on, set the relative coordinate value of this point to zero Move the tool to a safe position, manually move the tool down 50mm, and then set the relative coordinate value of this point to zero, that is, the zero position of Z-axis.
Record the mechanical coordinate Z value of the point in one of the CNC machine G54~G59. This completes the zero setting of X, Y and Z axes of the workpiece. Check the correctness of the data again. In addition, CNC machine tool operators need to check the correctness of the zero point, move the X axis and Y axis to the lateral position of the workpiece, and visually check whether the zero point is correct according to the size of the workpiece. Copy the program file to the computer according to the file path of the programming operation instructions.