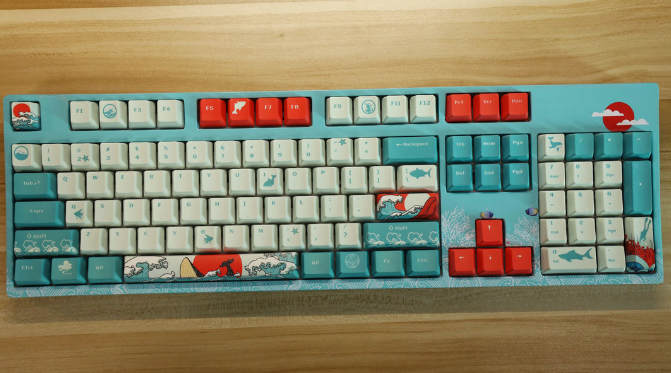
Recently, we often see people show their very personalized keyboards, since they think the pure white mechanical keyboards in their hands are too common, and they need to have a personalized look. If you start with the appearance, it’s not enough to replace the key cap with a new one. You need to replace the appearance on the housing. Common changes in the appearance of the plastic shell are water transfer printing, painting, stickers, etc. We chose the stickers with the lowest cost.
Preparation For Mechanical Keyboard Appearance Modification
The following materials are required to change the mechanical keyboard appearance:
– Mechanical keyboard x 1
– Sticker x 1
– 1 set of key cap
Practical Operation
1. First, pull off the key caps of the keyboard. It is recommended to use steel wire instead of plastic to avoid damage to the key cap and shaft body.
2. The screws on the reverse side need to be removed. Some of the screws are below the OK sticker, and the OK sticker needs to be destroyed. After the OK sticker is damaged, the warranty will be lost in general. It is recommended that you first ask the manufacturer whether to return the warranty after disassembling it.
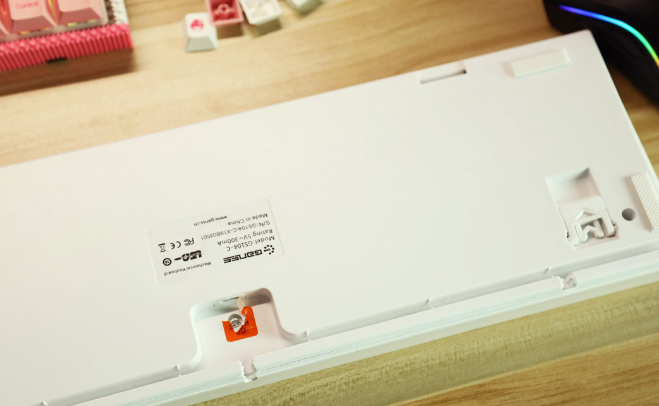
3. After removing the screws, the upper cover can be opened. The upper cover of this kind of keyboard is usually fixed with a snap and then fixed with screws. The snap is very tight. Use a slotted screwdriver to insert it into the side and pry it open. If you are too strong, the shell may produce prying marks, scratches, etc.
4. This is the removed housing.
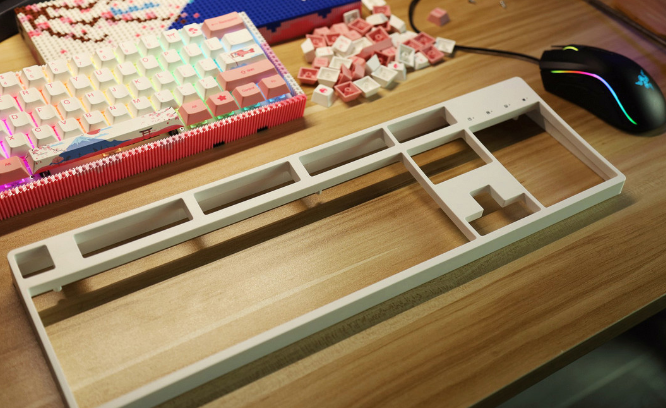
5. Take out the sticker, lay it on the upper shell of the keyboard, align it and adjust it.
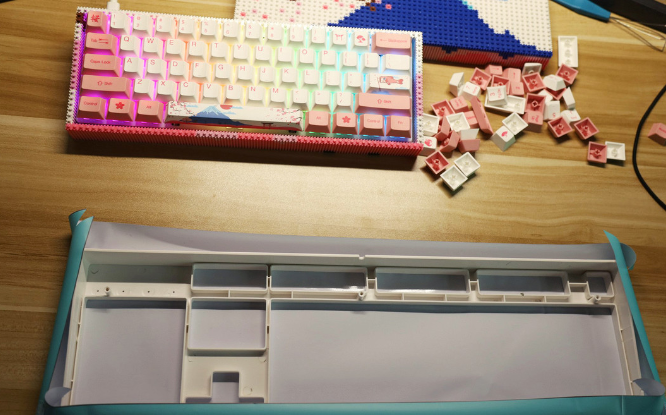
6. After alignment, paste it directly. Then the extra part of the sticker needs to be pasted on the side to wrap the side. Cut the four corners with scissors or blades at a 45 ° angle.
7. When cutting with a blade, remember to pad something on the table, and don’t make all the scratches on the table.
8. After wrapping the upper side, cut off the excess part and leave a little more sticker to wrap it inside.
9. The key area is also cut at 45 ° and pasted inside. After pasting, repeat the steps of pasting the side before to cut the excess sticker.
10. In this way, the upper shell is completely pasted. After pasting the air, you can try to squeeze it to the edge to exhaust the air. If you can’t, you can directly use a needle to pierce a hole to exhaust the air.
11. Cut the sticker at the buckle of the upper shell and the lateral outlet, or it will not fit.
12. Press the upper shell onto the keyboard, press the snap firmly, and then install the screws on the back. The modification of the sticker on the shell is complete.
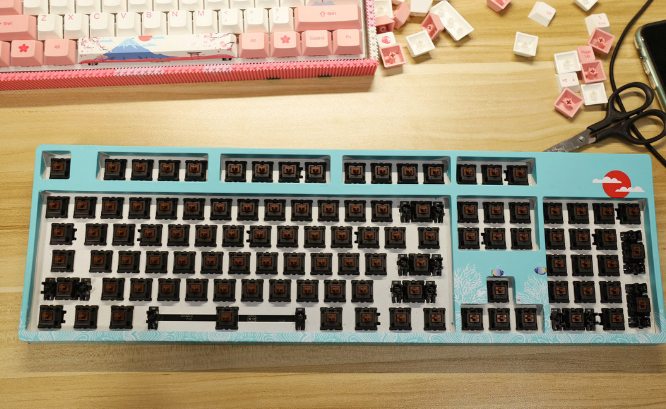
13. Take out the key caps and press them all. The simple transformation is completed, which is much more personalized than the original one.
