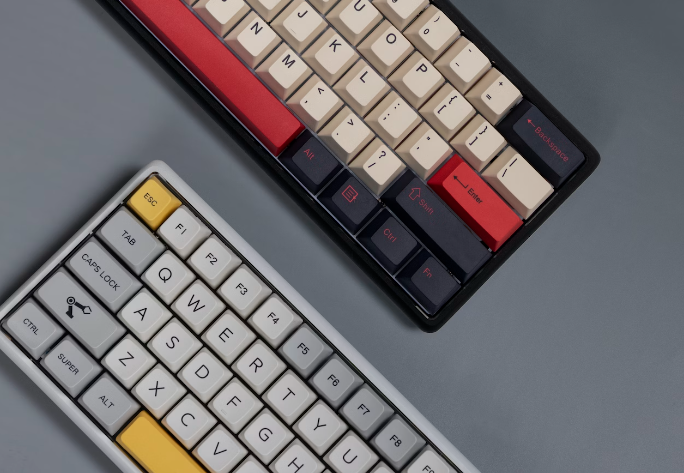
This is to let you know how to customize the mechanical keyboard shell. We can CNC process your aluminum keyboard with various colors of anodizing. You can also make all copper, stainless steel, aluminum alloy, brass, and other materials according to your requirements, and choose your favorite color and size for CNC customization.

Custom Anodized Aluminum Mechanical CNC Keyboard Case Step-by-Step Guide
Certainly, here is a more detailed guide with step-by-step instructions for custom anodizing an aluminum mechanical CNC keyboard case:
1. Design Your Keyboard Case
To get started, you’ll need to decide on a design for your aluminum keyboard case. You can use CAD software to create a 3D model of the case, which will help you visualize the final product. Make sure to consider the size and shape of your keyboard, as well as any other features you want to include, like cutouts for wires or switches.
2. Prototype Your Design
Before proceeding with anodizing your keyboard case, it’s always a good idea to create a prototype using a CNC machine or 3D printing. This way, you can test the design and make any necessary adjustments before committing to the final product. It also gives you a chance to see how the keyboard feels and looks in real life.
3. Clean the Aluminum Surface
To prepare the aluminum surface for anodizing, it’s important to clean and remove any oils, dirt, and oxides. You can do this using a degreaser and a wire brush, or by sandblasting the aluminum. Once the surface is clean, use a lint-free cloth to remove any remaining debris and ensure that the surface is smooth and uniform.
4. Apply a Masking Material
Next, apply a masking material to the areas of the case that you wish to leave un-anodized. This can be done with tape or a resistive material like vinyl or rubber. This process is crucial as anodizing will only affect the exposed aluminum surface, and you’ll want to ensure that any areas that shouldn’t be affected by the anodizing process are properly covered.
5. Anodize the Aluminum Case
Once the surface is prepped, it’s time to anodize the aluminum case. Anodizing is an electrolytic process that produces a layer of oxide on the surface of the aluminum, creating a protective and decorative coating. The anodizing process involves immersing the aluminum in an electrolytic solution and applying an electrical current. The solution will vary depending on the color you want to achieve. Anodizing the case is a delicate process and requires patience and precision to get the desired result. It’s recommended that you seek out help from a professional anodizing service or an experienced hobbyist.
6. Remove the Masking Material and Inspect the Finish
Once the aluminum case has been anodized, you can remove the masking material and inspect the finish. If necessary, you can use dye or a sealing solution to touch up any areas that didn’t take the color or didn’t anodize correctly. Be careful not to damage the anodized surface.
7. Assemble Your Keyboard
Once the anodizing is complete, you can assemble your keyboard with your chosen switches and keycaps. Enjoy your personalized, anodized keyboard!
In conclusion, custom anodizing an aluminum mechanical CNC keyboard case is a laborious and intricate process, requiring precision and patience. It’s essential to ensure that the surface is prepped correctly, and that the masking material is applied evenly before proceeding with the anodizing process. Seek help from a professional anodizing service or experienced hobbyist if you’re unsure about any of the steps.