There is no better way to dive headfirst into the world of mechanical keyboards than to build your own. The process of building your own keyboard may be entertaining, simple, and extremely rewarding. So, in today’s article, we’ll go over everything that you’ll need to get started building custom mechanical keyboard, pick out the parts, and the actual steps for assembling everything.
Why Do You Need To Build a Mechanical Keyboard?
The most important reason is to assemble by yourself, which is more flexible in function, and able to control the style and materials by yourself. In terms of functions, some ideas and creativity can be realized according to their own wishes. The appearance style and internal materials can also be matched according to your own preferences.
What Knowledge, Skills and Equipment Do You Need?
The keyboard building is relatively easy, unless you want to start from the design of the circuit board and make it from scratch, it may involve more work. If you just buy parts to “assemble/build”, the process will be very simple, and do not need too many tools. If you must say what tools you need, then an electric soldering iron and a set of screwdrivers are essential.
From the principle to the functional design, it can also be “completely foolproof operation”, even if you don’t understand anything, as long as you have played Lego bricks, you can solve it. Of course, if you have some basic concepts and understanding of the specific implementation principles, programming, machine brushing, etc., you can go deeper into the fields of driver development, advanced function customization, etc., but these are not necessarily necessary at the initial stage. When you feel the fun of assembling the keyboard, it is still time to learn more.
Materials Used For Custom Mechanical Keyboard Building
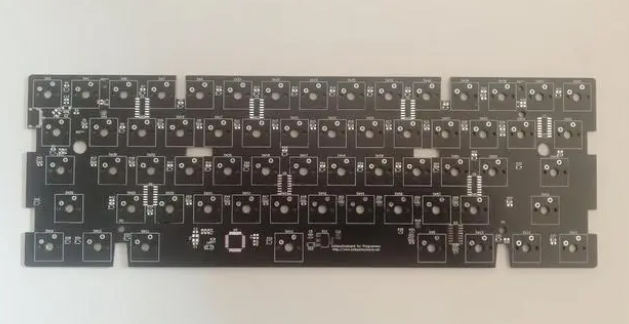
1. Motherboard/Mainboard
This “motherboard” is not a “motherboard” in desktop computers, but a circuit board. The 60% keyboard is compact and portable. It does not occupy too much space on the desktop.

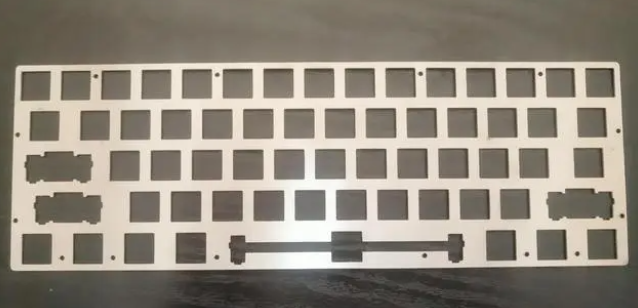
2. Steel Plate
The steel plate is mainly used to fix and stabilize the key shaft. However, if you have removed some popular keyboards on the market, you will find that some have steel plates in them and some do not. Those keyboards without steel plates have no functional difference. However, when assembling, this accessory must be purchased, otherwise it is difficult to stack and weld dozens of keyshafts in order. Without the use of steel plates, the keys on the final keyboard will always be crooked and ugly.

3. Bottom Shell
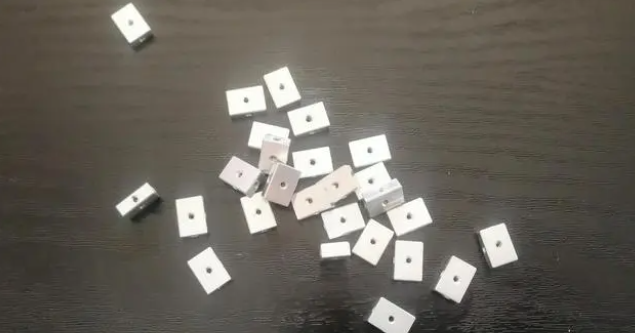
The bottom shell is made of carbon fiber. In addition, the mainstream is magnesium aluminum alloy plate, aviation aluminum integrated processing and injection molding, each of which has its own advantages and disadvantages. The reason why carbon fiber is used is mainly because it is cheap and flexible. With carbon fiber, it is very convenient to manufacture keyboards of 60%, 70%, 80% and 100% of different sizes. Any size can be customized, and the processing cost is very cheap. The carbon fiber board is used to make the bottom shell, which is spliced from the plates, so there is also a small part, such as the following:

The size of this part and the motherboard mentioned above can be “coupled” with each other, so the keyboard frame will be very thin. Of course, this is not important. The purpose of the bottom shell is to load the keyboard assembly, so even if it is not a purchased “complete set of parts”, as long as you have enough hands-on ability, you can finally make a box to “throw in” the entire keyboard assembly.
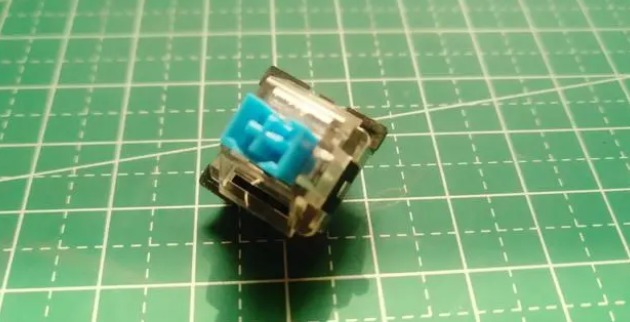
4. Shaft Key
The selection of shaft key is the most important, which determines the final feel of the keyboard. The traditional mechanical keyboard shafts mainly includes green shaft, tea shaft, black shaft, and red shaft. Later, many feel shaft key appeared. Pursue the touch without fear of noise – green shaft. Worry about noise, but try to pursue the touch as much as possible – tea shaft.

5. Satellite Shaft
This is used in conjunction with “big keys” such as space and shift. A space is as long as a space. If only one mechanical switch is placed under it, it will be unstable, and if two mechanical switches are placed under it, it will cause the “pressing pressure feeling” of other keys to be inconsistent. Therefore, satellite shaft is used to stabilize these keys and ensure that their pressing feel is similar to other keys.
5. Data Line
If the customized keyboard you purchase is designed with separate keys and cables, a separate data cable is required.
6. Keycap
This is also very important. It will determine the final appearance and feel of the keyboard. Now the mainstream is PBT keycap, which has a good feel and is not easy to grease. It can also be very convenient for dyeing, printing, thermal sublimation, laser etching and other surface treatment to make the characters or colors of keycaps different. This is a very convenient material for customization.
Assembly and Finished Products
During the whole mechanical keyboard assembly process, just insert the key shaft into the fixed steel plate, weld it to the motherboard, then assemble the shell, “throw in” the entire welded keyboard assembly, and use screws to fix them, and you will be finished.