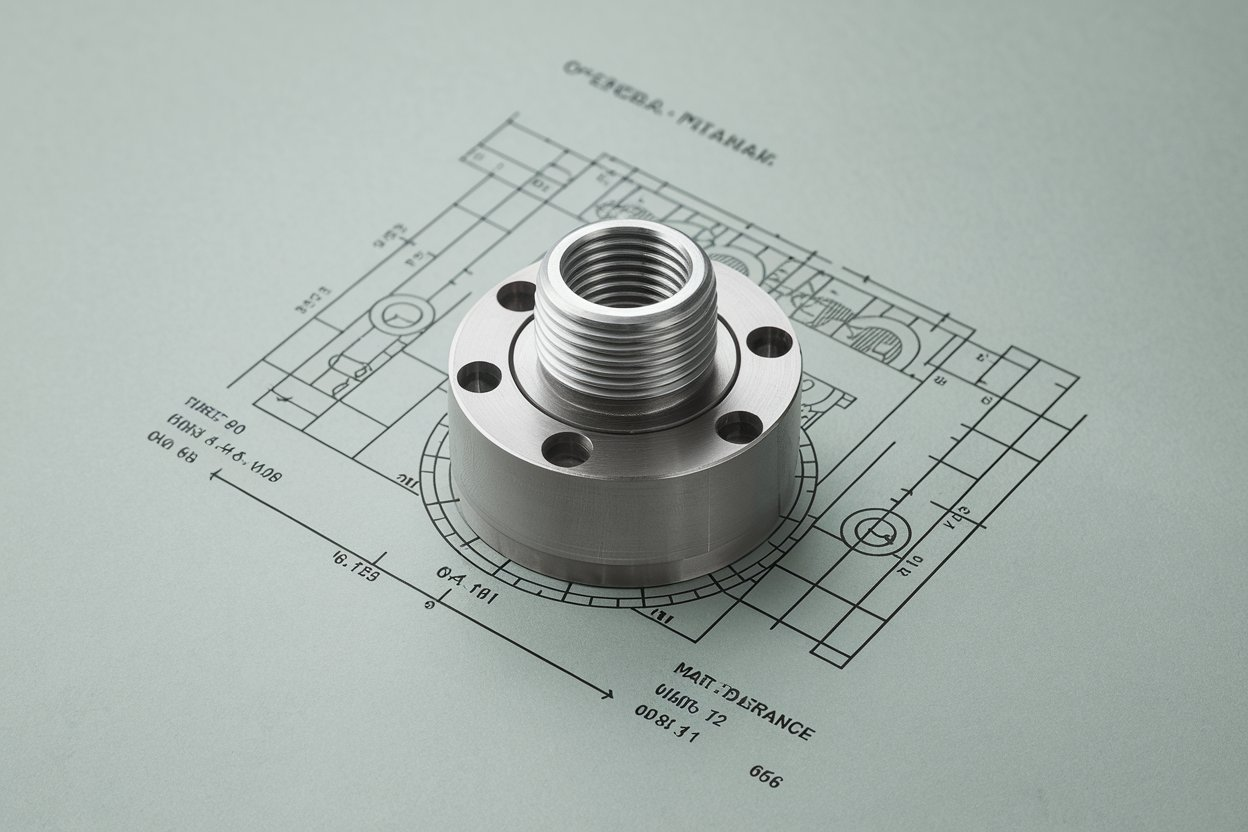
When customizing machined parts, detailed and standardized technical drawings are required so that the processing plant can accurately understand and manufacture the parts.

These drawings should include the following:
1. Part view
Main view, top view, side view: show the main appearance and structure of the part as needed.
Sectional view and partial enlargement: used to express internal structure or details, such as holes, slots or complex geometric shapes.
2. Dimensioning
Overall dimensions: clarify the overall length, width and height of the part.
Key part dimensions: such as hole diameter, slot width, step height and other dimensions that need to be strictly controlled.
Tolerance requirements: indicate the allowable deviation of linear dimensions and geometric dimensions (such as roundness, parallelism, verticality, etc.).
3. Material information
Indicate the material used for the part (such as aluminum alloy, steel, stainless steel, plastic, etc.), as well as the specific brand or specification.
4. Surface treatment requirements
Whether surface treatment (such as anodizing, electroplating, spraying, polishing, etc.) is required, as well as the specific treatment method and color requirements.
5. Processing requirements
Tolerance grade: ordinary, tolerance fit, precision, etc.
Finish: Surface roughness requirements (such as Ra value).
Special processing requirements: such as heat treatment, precision turning, precision milling, etc.
6. Hole and thread specifications
Hole diameter, tolerance, thread specifications (such as M6, M8) and depth requirements.
Mark whether it is a through hole or a blind hole.
7. Technical requirements
Processing precautions (such as assembly direction, mating parts requirements).
Inspection standards and methods (such as testing instruments, acceptance standards).
8. Standard parts and symbols
If there are standard parts (such as screws, bearings, etc.) in the drawing, the model and specification must be indicated.
Drawing symbols must comply with common national standards (such as ISO, GB, ANSI).
9. Drawing format
Title bar: Contains part name, drawing number, version number, scale, material and other information.
Scale: Mark the scale of the drawing (such as 1:1, 2:1).
Unit: Specify the unit used (such as millimeters, inches).
If you are a layman, you can communicate with our engineers or ask professional designers to draw standard mechanical drawings using CAD software such as AutoCAD, SolidWorks, Creo, etc. Providing clear and standardized drawings is the key to ensuring processing quality and efficiency.
In the process of customizing machined parts, in addition to preparing complete drawings and necessary information, other links and precautions are also involved to ensure that the processed parts finally meet the design requirements.
1. Communication and confirmation
Pre-processing review: After handing over the drawings and 3D models to the processing plant, conduct a detailed processing review with the engineer to clarify the key points and possible process difficulties.
Technical communication: Maintain good communication with the processing party, answer questions and confirm the feasibility of the process.
Trial production samples: For complex parts, it is recommended to conduct small-batch trial production to verify the process and size.
2. Selection of tools and equipment
Equipment requirements:
It is recommended to choose a 5-axis CNC machining center for high-precision parts.
For complex shapes, special processing equipment such as wire cutting and electric spark can be used.
Tool selection: Select appropriate tools (such as carbide tools, stainless steel special tools, etc.) according to material properties.
Fixture design: For special-shaped parts, customized fixtures are required to ensure processing stability.
3. Quality inspection and acceptance standards
Quality inspection tools:
Basic measuring tools: such as vernier calipers, micrometers, depth gauges.
High-precision measuring tools: such as three-dimensional coordinate measuring machines (CMMs), laser measuring equipment.
Inspection content:
Appearance inspection: deburring, no scratches or cracks.
Dimension inspection: strictly check key dimensions and tolerances.
Performance testing: such as material hardness, performance after heat treatment.
Acceptance report: The processing plant needs to provide a test report, including dimensional measurement data, surface roughness values, etc.
4. Cost and time management
Factors affecting processing costs:
Part complexity: multi-view and multi-process processing will increase costs.
Material selection: rare or high-strength materials are more expensive.
Accuracy requirements: high precision (such as IT6) requires longer processing time and more expensive equipment.
Batch size: small batches have high unit prices, and batch processing is more cost-effective.
Time management:
Negotiate the delivery cycle with the processing plant, leaving enough time to adjust the process or correct the sample.
Urgent orders may incur additional costs.
5. Post-processing processing and assembly
Post-processing:
Cleaning: remove oil, cutting fluid and other residues.
Marking: mark the number, direction and other information on the part.
Assembly inspection:
Test assembly with matching parts to ensure correct fit.
Check the flexibility and clearance of moving parts.
6. Environment and sustainability
Material waste:
Optimize design to reduce waste.
Use recyclable materials.
Machining energy efficiency:
Try to choose high-efficiency and low-energy processing equipment.
Surface treatment environmental friendliness:
Avoid using environmentally harmful surface treatment methods (such as chromate coating).
7. Common problems and solutions
Dimension out of tolerance: Check machine tool calibration, tool wear and clamping method.
Surface roughness does not meet the standard: Optimize tool feed speed and increase finishing process.
Heat treatment deformation: Improve material selection or adjust heat treatment process.
Processing misunderstanding: Strengthen drawing instructions and use 3D models to supplement complex shapes.
Customizing machined parts is a multi-step and detailed operation process. Designers need to provide clear and comprehensive drawings, work closely with the processing party, and achieve high-quality processing of parts through communication, testing and optimization. Mastering the above links can not only significantly improve the processing success rate, but also effectively reduce costs and shorten delivery time.